So here it is, the bedroom makeover!!! Goodbye Ikea and hello vintage shabby chic.
 |
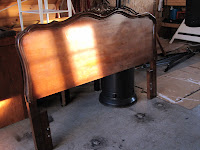
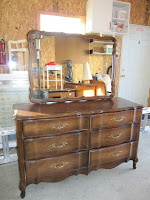
| BEFORE |
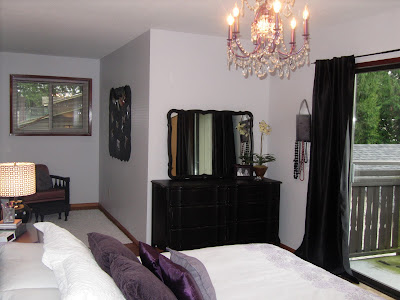 |
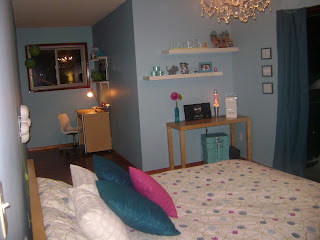
| AFTER |
I was given this headboard and dresser last year and then the idea of redoing my stepdaughter's room began.
 |
| BEFORE |
 |
| BEFORE |
All I had to finish up was the other half a dozen projects and rooms I was redoing before I could start, but the ideas were spinning in my head. She chose the color black for her furniture and after some color deliberation, she chose purple as her accent. (I was hoping for a bright yellow, gray and black, but I guess it's not "my room." I will add that I am grateful that she is the most
amazing stepdaughter one could ever dream of and she pretty much let me make all the creative decisions, and in the end, I think she's happy:) Here's a run down of my finds and projects....
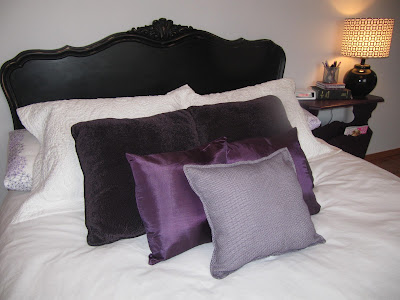 |
The headboard has been sanded down, painted black and distressed. The large purple throw pillows are from salvation army and were $3.99. The two smaller shiny pillows were about $3.99 from Jysk, as well as the bedding. The front pillow, I sewed with some great purple patterned fabric I found at VV.
|
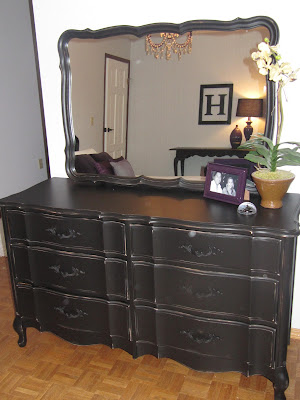 |
The dresser was sanded down, painted black, distressed and the old original hardware was spray painted black. I also spray painted the chandelier purple metallic. |
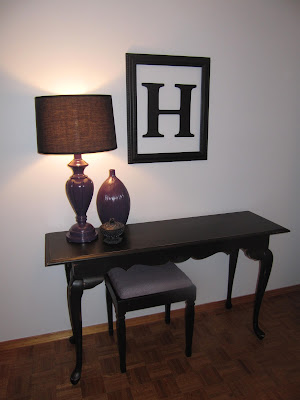 |
This sofa table was a "splurge" for me. Found it at Salvation army one day, it was $50 I think, but I knew it would be perfect in the space. It was also sanded down, painted black and distressed. The lamp and black dish are thrift store finds or should I say treasures:) I spray painted the lamp purple, as well as the vase which I already had. |
This picture is a SA find for $6.99 that I'm sure was beautiful one day in it's time. I removed the glass and matting, gave it a light sand and painted it out black. The letter "H" is from Michaels. That store is also dangerous.
The "groovy" chair is another SA find for $19.99. As I previously posted, I was thrilled not to take on a project of reupholstering so it was great that the covers zipped off and I was able to throw them into the washing machine. The chair was sanded down and painted out black, but of course:) Still not sure if I want to distress this or not?.... The gray throw pillow is from Jysk, and the black ruffled pillow I sewed with left over material from some curtain panels. I used the same fabric to recover this footstool (which I took from my mother's donate pile one day). I knew I could find somewhere to put that....
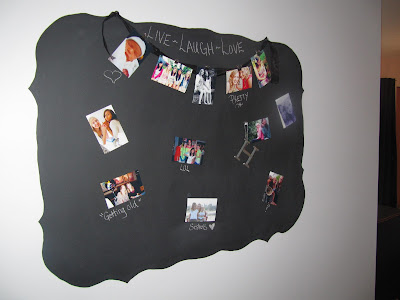
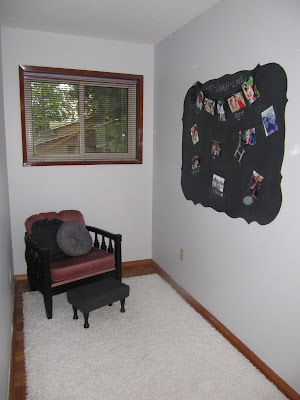
The chalkboard wall was an idea that we came up with when discussing ideas for the room. I decided to mimic the design of the mirror. I used a large piece of cardboard to trace the mirror and then traced it onto the wall with a pencil and then painted 3 coats of chalkboard paint. Voila! Tac was used to put up some photos that I downloaded from her Facebook page. "Did you know it was that easy to steal pictures? Kind of scary isn't it?
Another one of my "project ideas." A jewelry frame. I had the idea that I was going to market these a while back, but after making a few of them, I for whatever reason, left them in a closet and never pro-sued it. I used an old frame, painted it out black, added some wire window screen mesh, added some screw hooks, and the same fabric that I used for the throw pillow and the bench below.
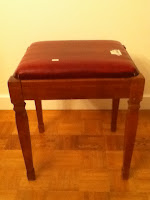 |
| BEFORE |
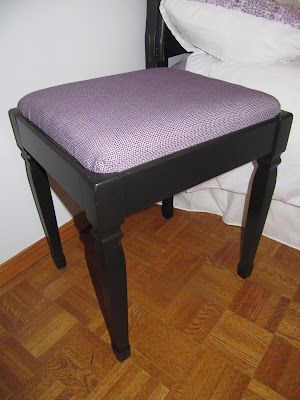 |
| AFTER |
Another thrift store find (are you surprised?). The bench was $9, I sanded it down, painted it black and recovered it.
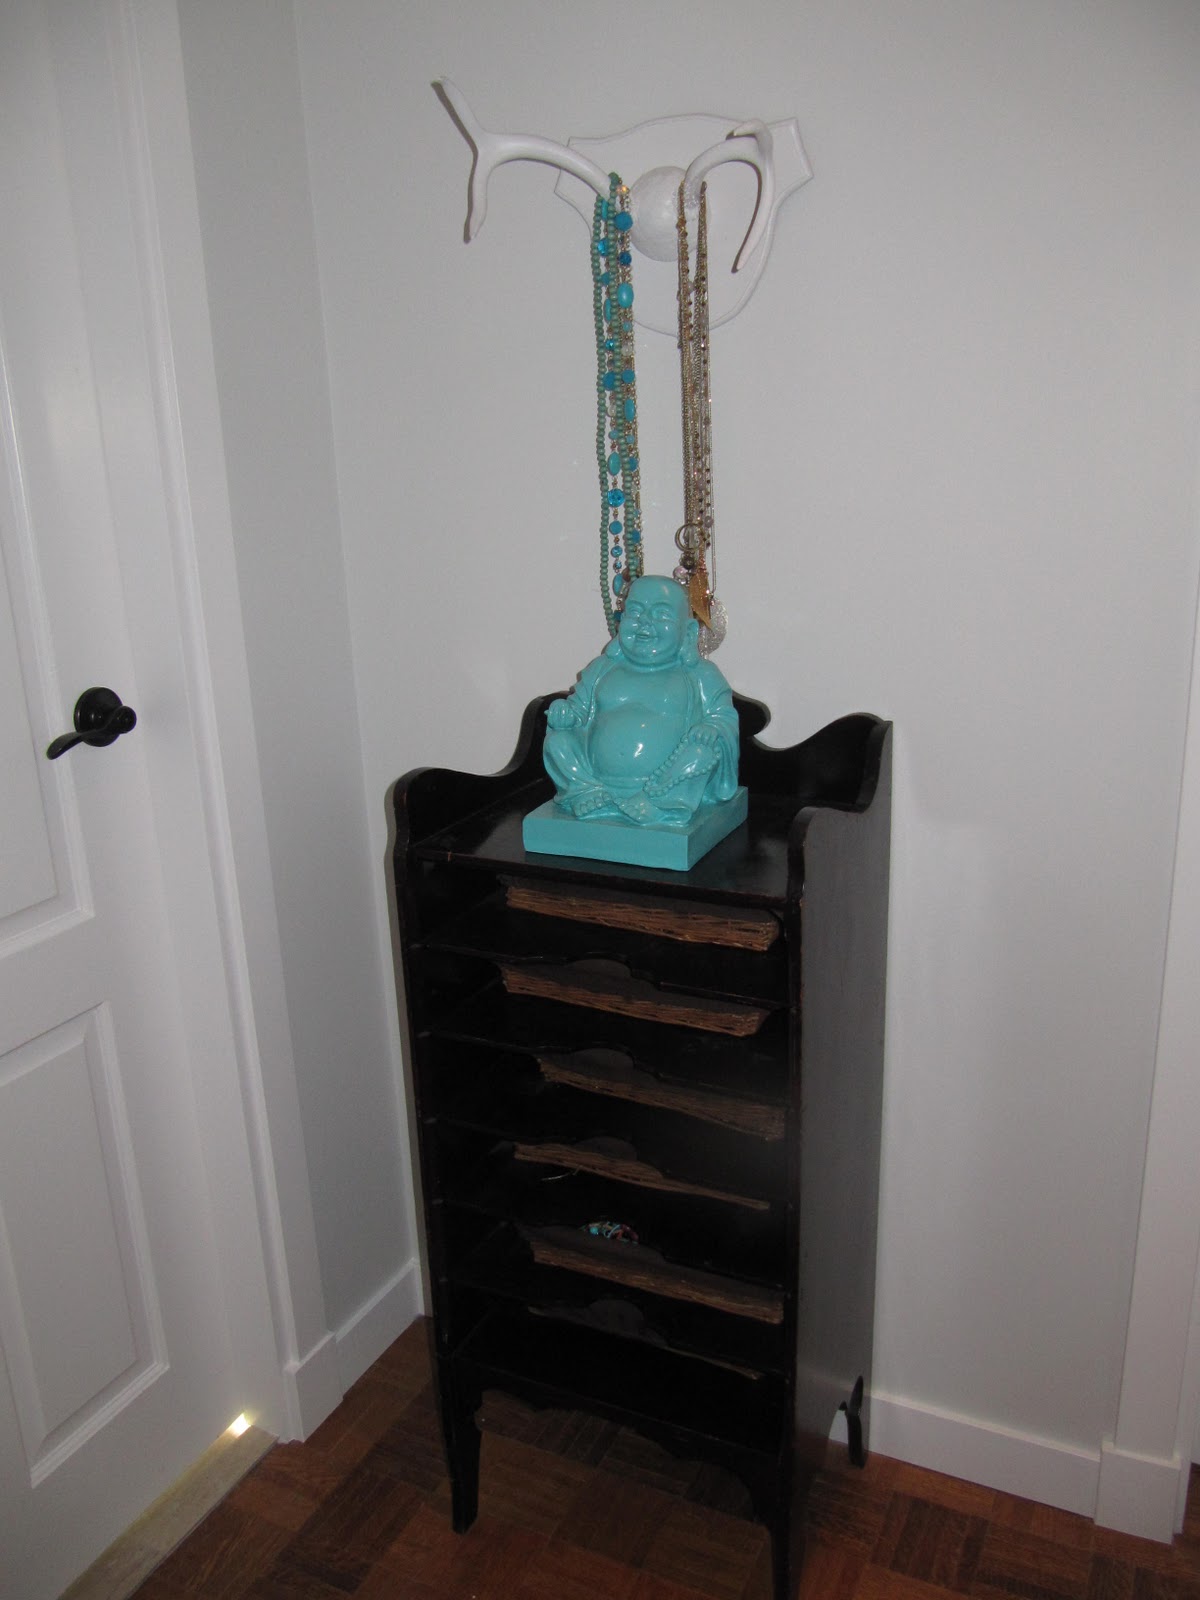
This purple table is a thrifted treasure as well, shocking I know. I used some left over paint from my other daughter's room and painted it purple for a little "pop." The lamp ($2.99) was gold, spray painted it and the shade I couldn't resist from Home Sense for $12.99. And I love the cute vintage looking Shakespeare book. I won't bother telling you where I found that:)
And that folks, is it. I have no idea if anyone is interested in reading all of this or cares, but for some reason I feel the need to blog my creative craziness. This is what keeps me sane but drives me insane at the same time. Does that make sense?
Thank you to my husband who puts up with my crazy and let's me make all the decorating decisions for the most part in our home and helping me with the odd assembly or moving of furniture. Thank you for letting me be at home with our kids during these precious years, which also allows me to follow my creative dreams!
No children were harmed during the transformation of this room, but some probably watched there fair share of treehouse:)


